Modern hydraulic systems in off-highway vehicles are becoming increasingly sophisticated and technologically advanced. This brings many advantages, but also aspects related to the sensitivity of the system that cannot be neglected. For example, the conditions of cleanliness of the components of an hydraulic system amplifies the customer’s attention to the issue of industrial contamination and cleanliness of the processes used to produce the components. In fact, in this regard, customers indicate, since the design and planning phase, parameters to be followed in order to limit contaminants.
Several studies estimate that a large proportion of failures to the components of vehicles hydraulic system may be attributable to contamination, which can cause premature wear and loss of efficiency that can also lead to significant damages.
Sources of contamination can be grouped into three different types:
1. Built-in | 2. Generated |3. Entered
On the second and third source, as primary suppliers (tier-1) of the manufacturers (OEM), we have no influence or possibility of intervention as it is of external origin, and derives mainly from the type of work areas in which the off-way machine is used (example: soil, dirt, dust, etc.). On the other hand, it is the duty of the manufacturer (tier-1) to control, contain and improve production processes to ensure that the products supplied meet customer requirements.
How can we reduce the chances of these contaminants persisting on components and thus being conducive to small and large problems? Through a constant monitoring of the production processes, based on the periodic execution of cleaning tests for the components produced in the different production lines. In fact, through product monitoring it is possible to determine the effectiveness of a production process.
The tests Safim carries out meet the requirements generally cited by our customers and the international requirements including ISO 4405 and ISO 16232.
To test the degree of cleanliness of the production process, finished components are sampled per product family, therefore with different geometries, the analysis process takes place in 4 phases
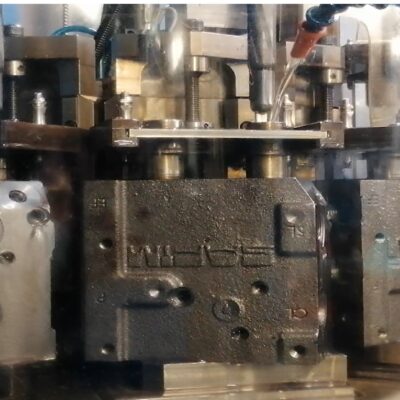
- WASHING. is a preliminary phase that it is necessary to exclude from the analysis the contamination present on the external surface of the hydraulic circuit, which, if not eliminated, could affect the result of the gravimetric test.
- TEST. Once the external dirt has been removed, the ports and hydraulic fittings are unplugged and the contaminant is extracted by washing with hydrocarbons, which is then conveyed to a special dedicated filter (5micron millipore filter)
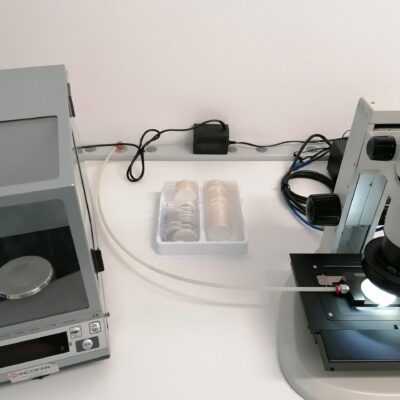
- DRYING. This is used to remove the vehicle used to wash the component and the contaminant collection filter is dried in order to remove the wet part of the previous washing phase.
- WEIGHING. Gravimetric analysis of the contaminant present (usually calculated as contaminant weight per wetted surface area).
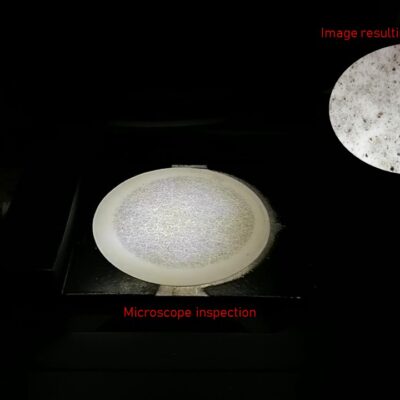
- MICROSCOPE INSPECTION. Particle size analysis of the contaminant present. The microscopic analysis is carried out through the use of a static image analysis software that catalogs the particles by size and type (through the refractive index). It is possible to conduct the analysis either automatically or manually. During automatic inspection, the microscope scans the filter through special analysis software based on refractive index that presents the results in ascending order to the operator.
The tests we perform are dedicated to identifying any hard particles, such as machining residues and metal parts, that could compromise product functionality and could have originated from:
- processing residues,
- ineffective protection of the material to be assembled,
- incorrect handling, incorrect assembly,
- incorrect maintenance performed on test benches.
One of the images below shows an example of the result of a microscope inspection which reveals a metallic particle of 1215.1 µm in length. In a case like this, the quality department starts searching for the causes and sources of contamination, identifying the most appropriate corrections to the production process in order to bring it back under control.
Our goal is to constantly improve the quality level of our products, for this reason all the tests performed on the components produced are carried out on a scheduled basis and repeated several times a year, according to the tolerance ranges of our customers with particles smaller than 600micron.


